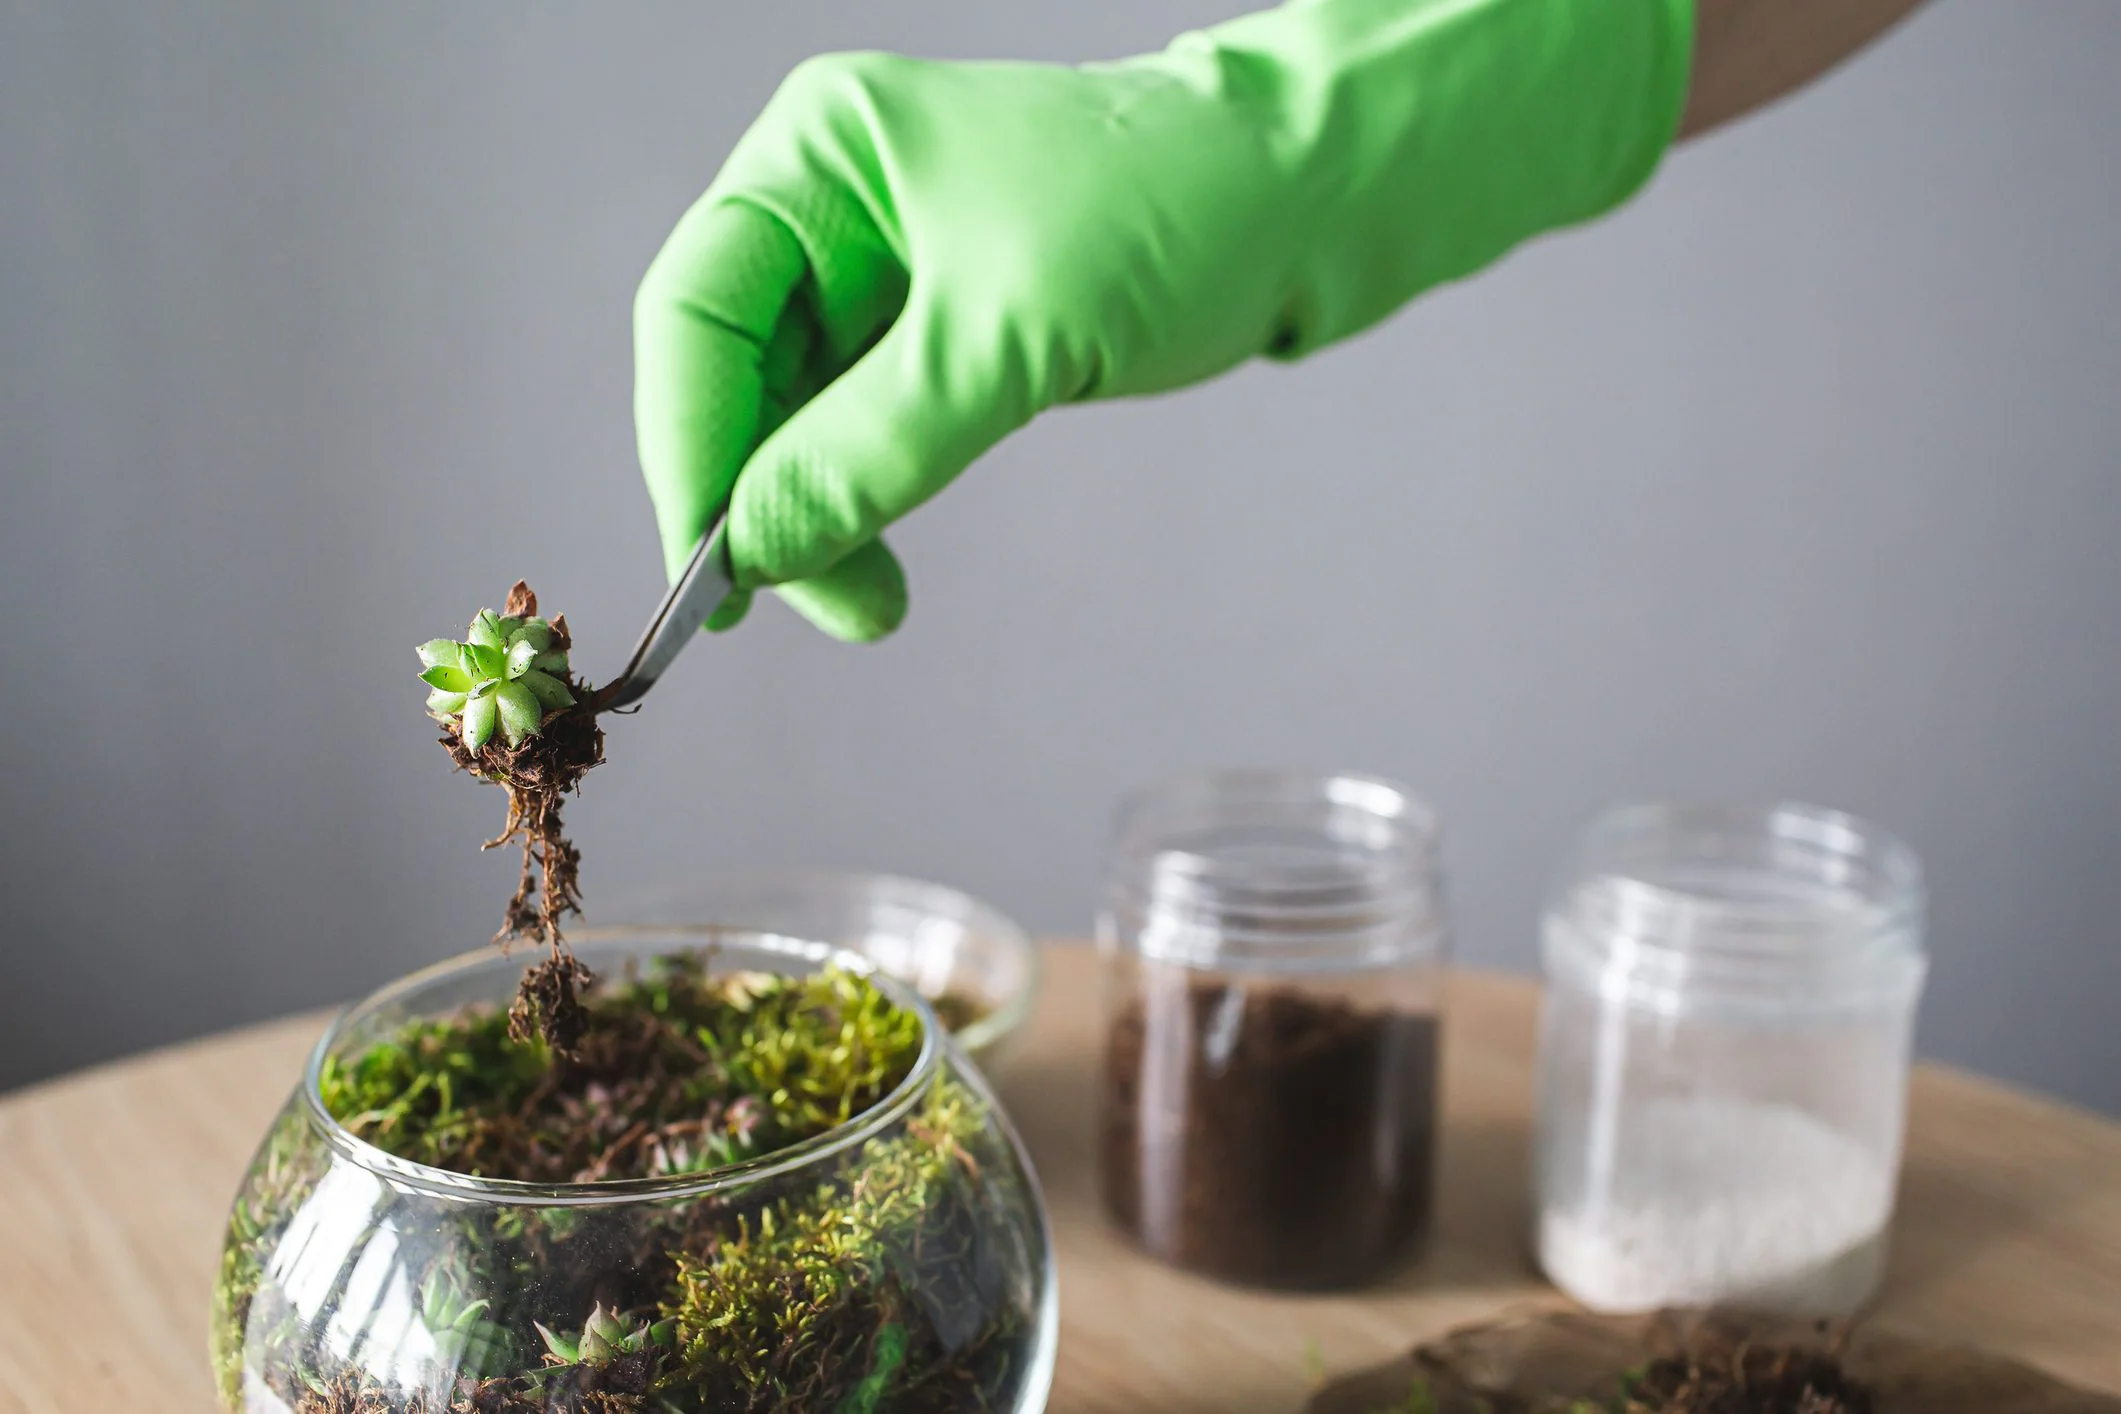
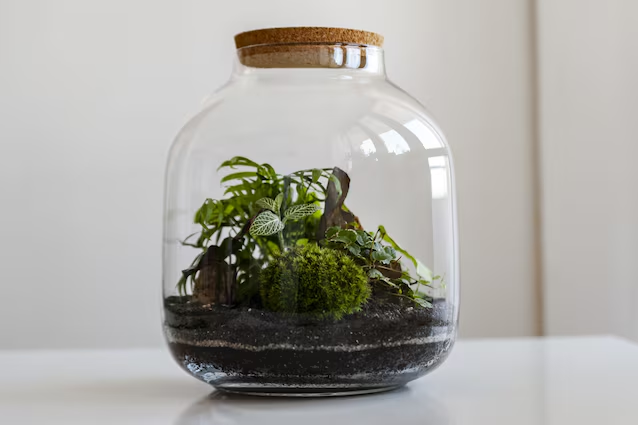
THE terrarium they are usually closed glass containers (open ones also exist) that house slow-growing plants. Colorful and refined, they are an excellent way to bring a bit of nature into your home, especially if you don’t have a green thumb: these mini greenhouses are, in fact, easy to maintain and very creative to create.
We have created a simple but comprehensive guide to better understand the various crucial aspects of building one: what to do, what to avoid, which plants to choose and which system will be right for us, also explaining which steps to follow and what to take into consideration during the design phase.
The design of the terrarium
The first step in building a terrarium is his design. What to grow? What do you want to observe? What type of ecosystem to develop? An idea could be to start from container.
The container must offer enough space to insert and reach the plant in the future, avoiding microscopic dimensions. For those who are trying their hand at terrariums for the first time, jumping on smaller sizes could be a double-edged sword: although it is true that less material is used, handling soil, plants and very small objects could require the use of pliers and precision tools. It is therefore better to start with a transparent container with a wide mouth, into which it is easy to insert your hands or arms directly. It is essential that the vase is transparent, to allow the passage of the light necessary for photosynthesis, even better if it is made of glass: it is preferable to plastic because it is more stable and allows light to pass through better.
It is not necessary to buy a vase specifically: even at home there could be a container with these characteristics, and even if there is no lid, there is no problem: it is possible to create both open and closed terrariums, but paying attention to the subsequent steps (which are not always interchangeable).
Plant selection
The second step is to choose the plant species for the terrarium.
It is advisable to select small, slow-growing plantsalways paying attention to the environment you want to recreate: open and therefore dry, or closed and therefore humid. Compared to this, plants for closed terrariums must tolerate high humidity and diffused light (such as ferns and mosses, which are well adapted to humid and shaded environments), while succulents have adapted to arid conditions thanks to their metabolism, which reduces water loss through transpiration. In the first case it is therefore necessary to make sure that the lid is well sealed to prevent humidity from escaping and drying out the environment.
Among the most common and easily available choices are:
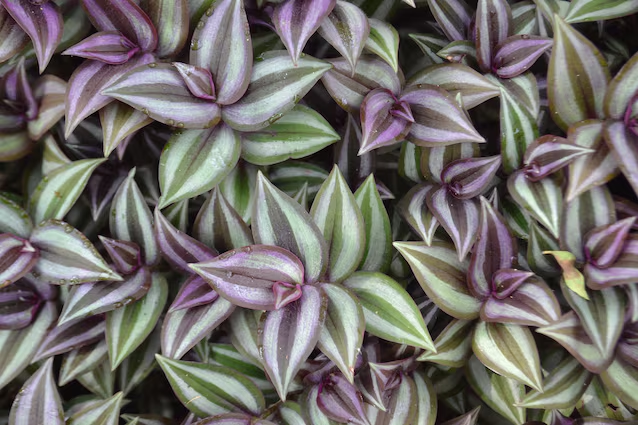
- Tradescantia zebrina (Commelinaceae)
- Tillandsia stricta – aerial plant native to South America (Bromeliaceae)
- Selaginella apoda – primitive vascular plant similar to lycopods / meadow moss (Selaginellaceae)
- Hypoestes phyllostachya – plant with spotted leaves / polka dots (Acanthaceae)
- Nepenthes – tropical carnivorous plants (Nepenthaceae)
Substrate stratification and choice of soil
Based on what you choose (sealed container or not and related plant species) it is necessary to ensure that the plants can grow in a favorable environment.
We must therefore pay attention to draining layerso that it is well designed to avoid water stagnation which causes stagnation which causes the roots to rot. Materials such as gravel or expanded clay improve water percolation and avoid rot, perlite and sand increase the porosity of the soil, while activated carbon is used to adsorb organic substances and prevent bacterial proliferation. In summary, the growing medium must guarantee a balance between water retention and aeration.
To recreate a functional soil profile like the natural ones you will need to follow this order bottom up: drainage layer in gravel or expanded clay, filter layer in activated carbon, cultivation layer in peat or coconut fiber with the addition of sand or perlite and organic matter to encourage root development.
Direct or indirect lighting
Light is the main limiting factor for photosynthesis but can cause an excessive increase in the internal temperature of plants and cause their death. This is why the choice of light source can be a crucial step.
Indirect light guarantees a sufficient energy supply without overheating but in the home it can be limited and very inconsistent. Alternatively, there is the possibility of using ad hoc artificial light. There is an enormous variety of specific products on the market for terrariums and indoor plants: lights that radiate specific wavelengths at adjustable intensities and times that meet the most demanding plants.
And now hands in the dirt…3, 2, 1, go!
In summary: choice of container, relative humidity, temperature, light intensity and drainage capacity of the substrate are the main characteristics that determine the selection of species and the general layout of the terrarium.
Here is a list of what you will need:
- Transparent glass container, with or without lid (jar, old aquariums, flower vases, demijohns, etc.)
- Pebbles or pebbles;
- Activated carbon, better if enriched with sphagnum moss and coconut fibre;
- Specific soil for the selected plants (cactus, mosses, ferns, etc.);
- Pearlite;
- Fine sand;
- Table spoon;
- Stick;
- Level (you can make one by skewering a cork with a wooden skewer);
- Pliers and scissors (optional);
- Extra decorations (colored sand, shells, etc.);
- Selected plants.
Once you have all these items, you can start the process.
Place them in a very clean and completely dry container pebbles or gravelcreating a uniform layer (the drainage layer) approximately 2–3 cm high. At this stage you can use a spoon or a small DIY level to lightly press the gravel. There should be small air spaces remaining which will act as a cavity.
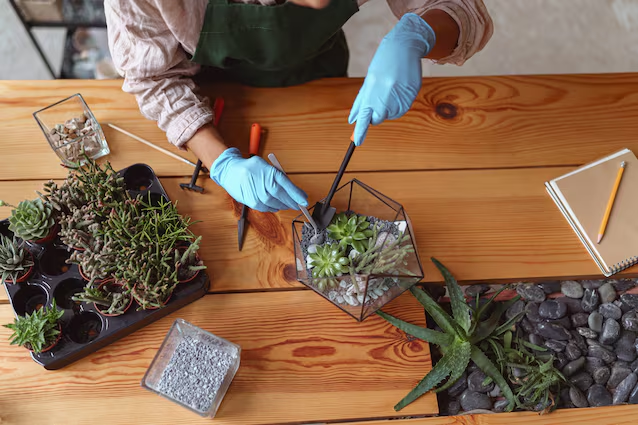
Subsequently, it must be distributed activated carbonbut without covering the entire surface: just spread it irregularly. This move will help prevent bad odors and keep the environment clean. You can then add one layer of soil sufficient to accommodate the roots of the plants. Be careful though: you must avoid filling a large part of the container with just substrate, because the plant will need air and to enjoy its small atmosphere. It is advisable to occupy approximately 1⁄3 of the space with soil and leave the remaining 2⁄3 of the container free.
At this point you can plant the plants, starting with the largest one (which will take up most of the space) with a small spatula or long-handled spoon. The roots must be completely covered and not too narrow. At this stage you must be careful not to press the plant too much against the glass, leaving it a minimum of space to develop. The other plants must be added following the same procedure. If desired, you can also insert decorative elements such as small stones, moss or sand to cover the soil.
Finally, the plants must be vaporized with water, and – if a closed terrarium has been chosen – the container must be placed near a non-direct light source for a few hours, without putting the cap on. It is recommended to close the cap only after waiting for the system to have absorbed the necessary water and allowed the excess to evaporate. The soil, in fact, must be moist but never soaked. Finally, you can seal the container with the lid.